In the second part, I will show how to implement a web GUI based interface instead of QML for the test application described in the previous post. To achieve it I will use the Wt library (more detail see at https://www.webtoolkit.eu/wt). In short, Wt is a C++ library for developing web applications. It allows quickly developing highly interactive web UIs with widgets, without having to write a single line of JavaScript. Wt handles all request handling and page rendering for you, so you can focus on functionality.
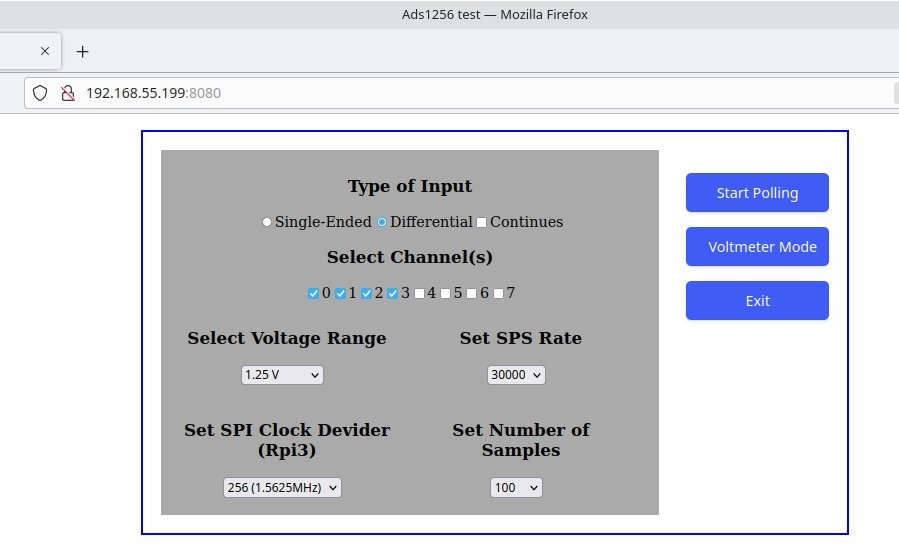
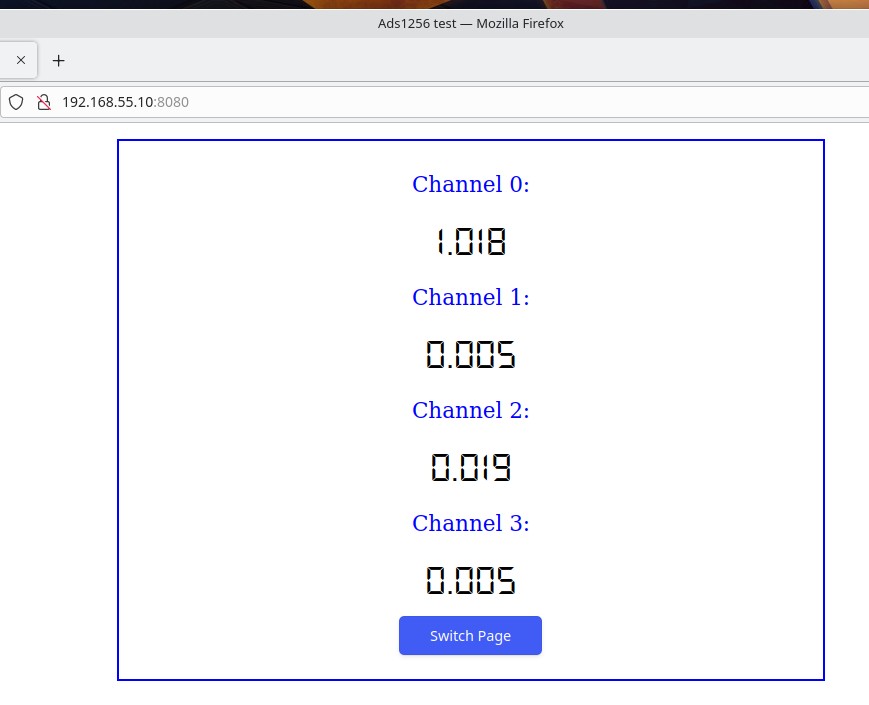
The web-related part of the application is using Wt wthttp connector library to implement an internal web-server and Wt GUI widgets library to implement Web interface. I tried to keep exactly the same look and feel for the configuration/report pages.
The back-end of the application which is responsible for configuring the hardware and acquiring the data left the same.
The application has a simple structure and consists of three classes:
The first C++ class “FormApplication” is responsible for creating Web pages with GUI widgets and setting a communication between the widgets and C++ code using a signal/slot framework.
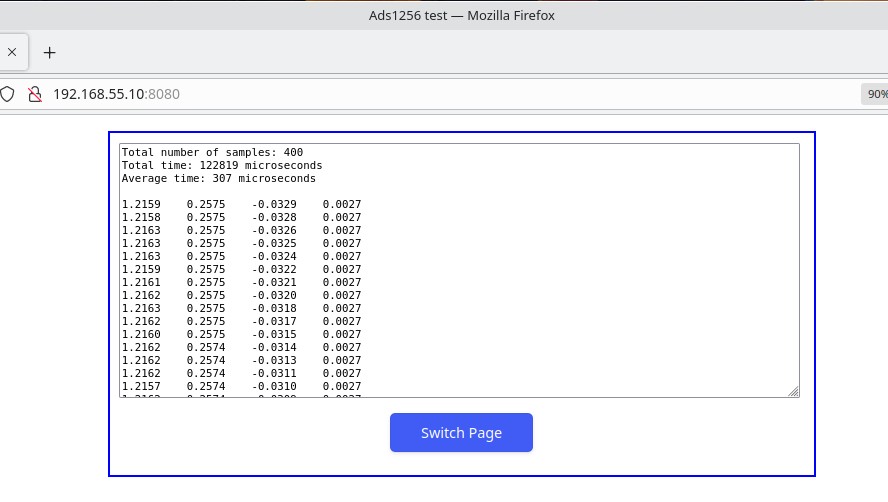
An “AdsReader” class is a conduit between Web interface and hardware. It creates a special thread in which it performs the data reading from ADC.
And the last class is “RpiBoard” which exposes the API for setting and controlling ADC hardware.
Like its predecessor, it has been tested on the Raspberry Pi 3 running Yocto image version 4.0 (Kirkstone). You can find Yocto Wt library recipe here…
I use /opt/Wt directory as an installation directory and you should start an application from the command line:
$ ./wtAds1256 –docroot . –approot . –http-port 8080 –http-address 0.0.0.0 –resources-dir /usr/share/Wt/resources
The source code could be found at the git repository here…